FAQs: Mash Paddles & Brewing Spoons
What size mash paddle do I need for my brewing system?
The right mash paddle size depends on the vessel you’re brewing in.
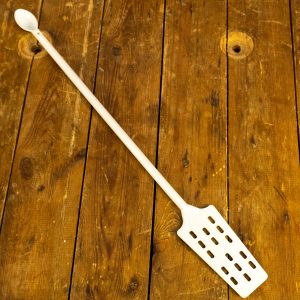
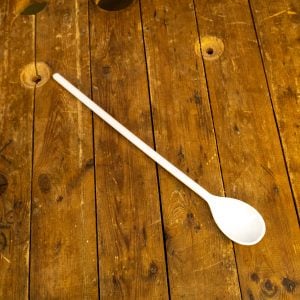
- For smaller setups and mash tuns up to around 20 litres: A 50cm plastic mash paddle handles doughing in and grain bed mixing without any issues. It’s also a great choice for extract kit brewing in plastic fermentation buckets — the plastic head won’t scratch the bucket surface the way a stainless paddle would, keeping the vessel in better condition for longer.
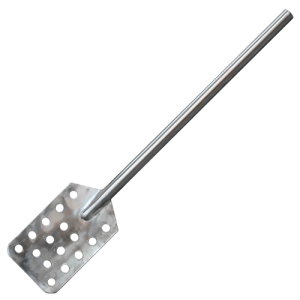
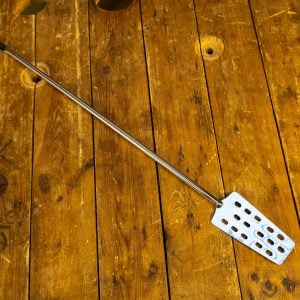
- For Grainfather G30 and G40, Brewzilla and Brewtools systems in the 20–50 litre range: A,60cm stainless steel mash paddle is the right fit — long enough to reach the bottom of the grain bed comfortably, with a slotted head that helps break up dough balls during doughing in.
- For larger vessels — Brewtools B-150, Grainfather G70 and 100 litre stainless kettles: You want something like the 76cm heavy duty stainless paddle, as it has a larger 23cm x 14cm paddle head suited to stirring bigger grain beds without losing mash temperature control.
Is a stainless steel mash paddle better than a plastic one?
For most homebrewers, a stainless steel mash paddle is the better long-term choice. They’re more durable, easier to sanitise properly, and better suited to regular use in hot wort. 304 grade paddles hold up to repeated cleaning with caustic and acid-based cleaners without degrading, and the hanging hole in the handle means they can be left to air dry properly between uses rather than sitting in a pile somewhere.
Plastic mash paddles are perfectly functional and fine for brewing use; they’re lighter, lower cost, and practical for stirring jobs where you don’t need the reach or robustness of a full stainless paddle. The one thing to watch with plastic is scratches: once a paddle picks up deep scratches that can’t be cleaned out properly, it’s worth replacing rather than trying to sanitise around them.
How do I use a brew paddle to dough in properly?
Add grain slowly and stir continuously as it goes in – that’s the core of a good dough in. Tipping a full grain bill in all at once and then trying to break up the resulting clumps is considerably harder than adding it gradually in the first place.
Work the brewing paddle in a figure-of-eight motion across the bottom of the mash tun rather than just stirring in circles, which helps distribute the grain evenly and ensures good liquid circulation through the grain bed. The goal is an even, fully hydrated mash with no dry pockets — lift the paddle periodically and check underneath for any grain sitting dry at the base of the vessel. Mash temperature control is easier to maintain when the grain is evenly distributed too, so a thorough dough in at the start pays dividends for the rest of the mash.
What other brewing spoons and stirring tools do I need on brew day?
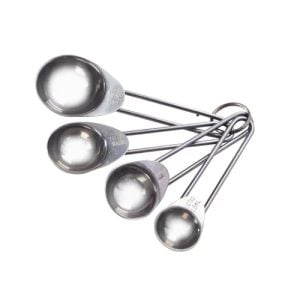
Beyond the mash paddle, a long handled brewing spoon earns its place across the full brew day — they’re useful for stirring during the boil, mixing in malt extract additions and general stirring jobs where a flat paddle head isn’t needed. The long handled plastic spoon at The Malt Miller covers this well at minimal cost. For measuring out smaller additions like hop additions, yeast nutrients or finings, a set of stainless steel measuring spoons is a handy homebrewing accessory that saves a lot of guesswork.
Where can I buy a mash paddle for homebrewing in the UK?
You can buy mash paddles and brewing spoons at The Malt Miller. We stock plastic options for everyday use and budget builds, alongside stainless steel for brewers who want something that will last. Sized to suit Grainfather, Brewzilla, Brewtools and most other common homebrew systems.