How to cut holes in stainless steel brewing vessels
Customising your brew kit with an extra valve, thermowell, or electric element can really improve the flexibility of your vessels as well as making your brew day easier. But to add a new fitting, first you need a hole…
A hole lot of possibilities
We can add extra holes to any brewing pot you buy from us. This allows you to customise your kit to your specific needs.
We offer four sizes of hole:
- 17mm – ideal for the SS Brewtech rotatable racking arm
- 21mm – any 1/2″ fittings, including valves, recirculation bulkheads, thermowells…
- 40mm – small kettle elements
- 60mm – 2.5″ triclamp bulkheads as used on our 2, 3, and 6kW electric elements
We can only modify vessels at the point of purchase, so if you want to do your own cutting, here’s our recommended process.
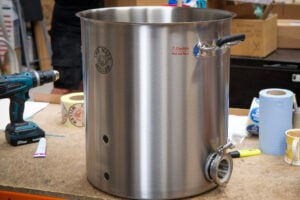
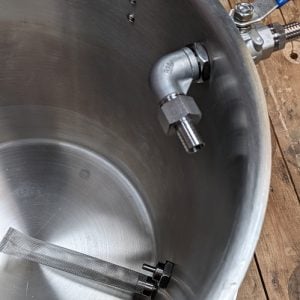
Measure twice, cut once
Having figured out what size of hole you want, you need to decide where the hole should go. A hole for an element needs to be close to the base of your vessel, while a recirculation bulkhead is better situated at the top. Thermowells need to be positioned carefully so as not to get in the way of other fittings inside your vessel.
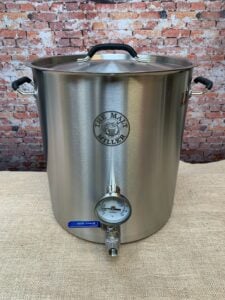
A good way to think about the location of your hole is to visualise your vessel as a clock. The front of the vessel – which usually has the main outlet valve – indicates 12 o’clock, while the opposite side is 6 o’clock. 3 o’clock would be the left hand side as viewed from the front, with 9 o’clock on the right hand side, and obviously all the other clock positions in between.
Using this system you can be very clear about where your hole should be – e.g. for an element, you want a 60mm hole at 3 o’clock.
Making the cut
We use Q Max cutters as they give a very even, clean cut. You can use hole saws, but these can be expensive and difficult to get good results with. Typically we’re making holes in curved surfaces like the side of a pot, so a hole saw can skate across the curve and leave nasty scratches, as well as your hole not ending up where you planned.
The first step is to measure and mark the location of the hole – a Sharpie is ideal for this. Try to avoid marking (and then making pilot holes) directly over any welds on your vessel – it’s fine to cut through these, but they can be extremely difficult to make pilot holes through.
Next, use a bradawl to make a guide. If you feel the tool is slipping, a little masking tape over your location should help grip. The bradawl makes just a little dent, enough for our drill bit to avoid skating.
Then take your drill and a small bit and make a pilot hole. Drill slowly and apply high pressure. You might find you need some cutting lubricant – WD40 works well. Drilling at higher speeds will obviously go faster but can damage your drill over time. We go slow and steady!
Next, using your pilot hole, drill the correct size hole for the Q Max cutter. Each cutter needs a different hole, so check the packaging on your cutter. As with your pilot hole, drill slowly and apply lots of pressure.
Lastly, insert the Q Max cutter. These cutters come in two parts: the cutter itself goes inside your vessel, with a bolt attaching to the outside. Tighten the bolt clockwise with an allen wrench until the cut is complete.
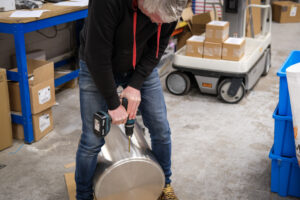
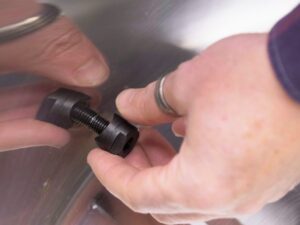
Be careful – your new hole is very likely razor sharp. We deburr holes to make them a little safer to work with.
Check out our video on hole cutting, and remember to subscribe to our YouTube channel for all the latest brews and reviews from The Malt Miller.

