Brew With Us – 5L Kitchen Brewer instructions
Thank you for purchasing this 5L kit from The Malt Miller – proof that great beer can come in small packages!
BREW DAY
Before you start
Make sure your equipment is clean and fully assembled. For this stage, you will need:
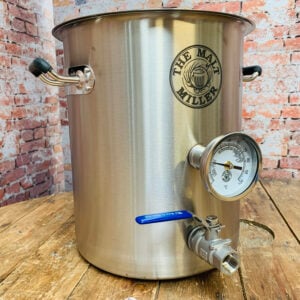
- Stainless steel brew kettle with grain bag
- Plastic spoon
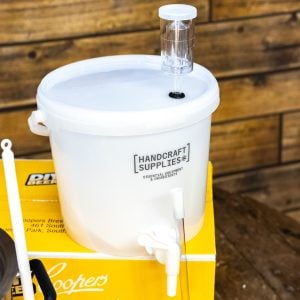
- Fermenter with lid, tap, and airlock
- Sanitiser
Each recipe kit includes:
- Grain
- Hops
- Yeast
- Recipe instructions – this has amounts and timings specific to each kit
Mash
Fill the brew kettle with 9 litres of water and heat to the mash temperature stated on your recipe sheet (inside the box with your ingredients OR on the product page for your kit).
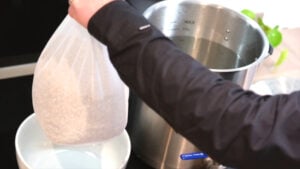
Using a bowl or jug to hold the grain bag, pour the grain into the bag. Once the water has reached the correct temperature, gently immerse the grain bag in the water. Stir the grain inside the bag using a plastic spoon, making sure to break up any clumps. Be careful to not let the grain escape the bag.
Carefully tie the top of the bag and put the lid on the kettle to hold the heat in. Start a timer. This is your mash.
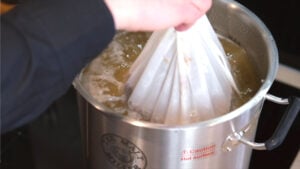
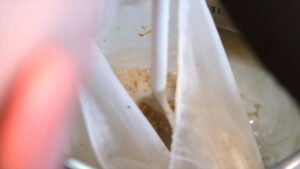
Keep the mash as close to the MASH TEMPERATURE as you can for the MASH TIME shown on your recipe.
While you’re waiting for the mash to complete, thoroughly sanitise your fermenter ready for the next steps, following the instructions on your sanitiser. Make sure to sanitise:
- Fermenter including the tap
- Fermenter lid
- Airlock
Drain
Turn off the heat. Carefully gather the top of the grain bag and slowly lift it out of the brew kettle, allowing the liquid (wort) to drain from the bag.
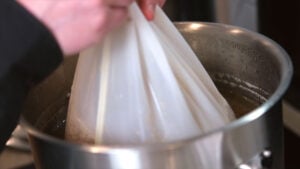
When the grain bag has drained, put it into another vessel – such as a bowl or a large saucepan – to cool while you carry on with your brew. Some more wort will likely drip out of the bag over the next 10 minutes – you can add this to the brew kettle.
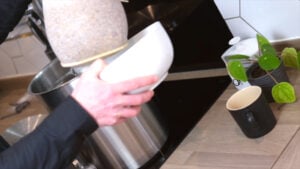
Dispose of the remaining grain once cooled and wash the bag with plain water.
Boil
Check the BOIL TIME shown on your recipe page and prepare a countdown timer, then bring the wort to a boil.
Begin your timer when you have a stable “rolling” boil.
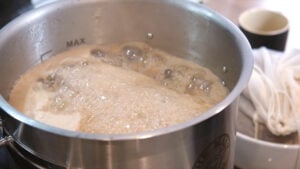
While you’re waiting for the wort to boil, measure out the hops based on the amounts shown on your recipe. Hop timings are shown on the recipe as a countdown.
- If your boil time is 30 mins and the first hop addition is shown as 30 mins, add the hops when you start your timer
- For a hop addition at 10 mins (for example), this is 10 mins from the end of the boil time – just look at your countdown timer
When adding hops, gently stir the wort to mix the hops in.
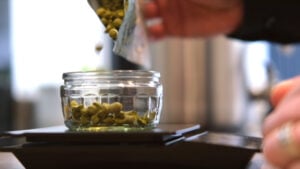
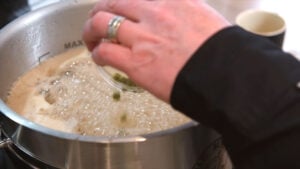
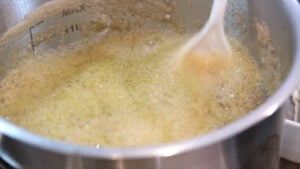
At the end of the BOIL TIME, turn off the heat. The next step is to cool the wort down to a good temperature for the yeast.
Cool
Cool the wort down to approximately 20°C. Immerse the brew kettle in cold water or an ice bath.
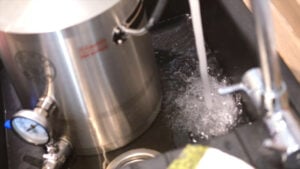
Stir the water around the brew kettle to help it cool faster, and replace the water with new cold if it starts feeling warm.
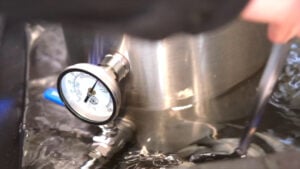
When the wort is cooled, remove from the cooling water then allow to settle for 30 minutes. This collects the used hops and other unwanted sediment in the middle of the kettle.
Transfer
Place the fermenter directly below the brew kettle and open the kettle tap. Go slow at first to control the flow.
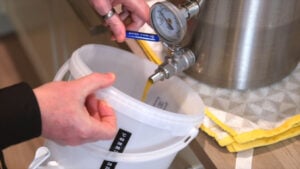
After the first litre or so, lower the fermenter from the tap to let the wort splash a bit. This will add oxygen that will help your yeast grow.
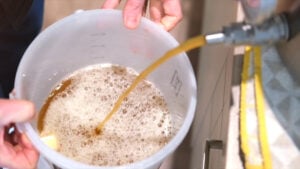
Sprinkle the yeast onto the wort and fit the fermenter lid. The lid will “click” into place when it is properly sealed. Attach the airlock and half-fill it with sanitiser solution.
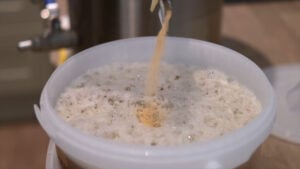
Congratulations – you’ve brewed beer!
Your brew day is complete – now it’s over to the yeast to turn your wort into beer…
FERMENTATION AND SERVING
Fermentation
Fermentation usually takes 7-10 days. The airlock will bubble when fermentation is most active, but fermentation will continue even after bubbling stops.

Try to keep the fermenter as close to the FERMENTATION TEMPERATURE shown on the recipe page as you can. A stable temperature within a few degrees of the target is best.
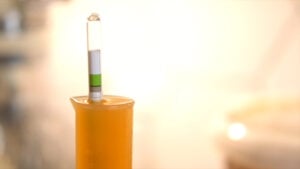
You can measure fermentation progress with your hydrometer (instructions). Take a sample to test using the fermenter tap so you can leave the lid closed.
The recipe page from your kit shows the expected FINAL GRAVITY. When your beer reaches final gravity as shown by a hydrometer sample, wait 1-2 additional days to be sure fermentation is complete.
Bottling
If you have space, put the fermenter into a fridge the day before you bottle. This will help pull out sediment and give you clearer beer.
Make sure your equipment is clean and to hand. You will need:
- Bottling stick
- PET bottles with screw tops x 10
- Sanitiser
- Table sugar or dextrose brewing sugar – for priming
Thoroughly sanitise the bottling stick, bottles including the caps, and the fermenter tap.
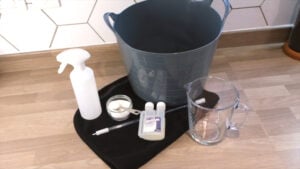
Fit the bottling stick to the fermenter tap and make sure it’s secure. Remove the airlock from the fermenter lid so the airlock doesn’t suck back into the beer.
Measure out the amount of PRIMING SUGAR shown on your recipe page and add it to each bottle.
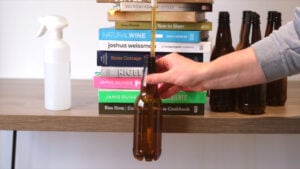
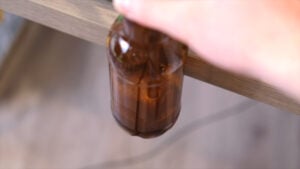
Put a bottle over the stick and open the fermenter tap. Push the bottom of the stick to the bottom of the bottle to begin filling. Stop when the bottle is full and carefully withdraw the bottle from the stick. This will leave the right amount of headspace in the bottle neck.
Gently squeeze the bottle until the beer is at the top of the neck, then cap the bottle. Squeezing removes air from the bottle so the headspace will fill with carbon dioxide.
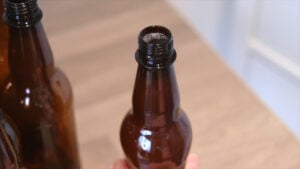
Conditioning
Store the bottles at room temperature for at least a week to carbonate. The bottles will be firm to the touch once carbonated. Leave the beer for another 5-6 days – it’s then ready to drink. Refrigerate to keep in best condition.
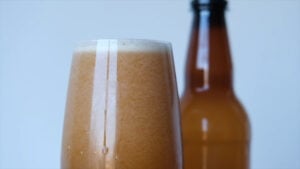
Cheers!
While you wait for your beer to carbonate, why not pick out your next kit – get it brewed now and you’ll never be short of brilliant homebrewed beer!


Hi, I’m a tiny bit concerned that it’s difficult to hit the correct OG with so many variables and starting with 9 litres and the potential for the OG to be too low. Once I get to that stage the the hop timing would be wrecked if the low OG necessitated boiling for a bit longer. What are your thoughts? Thanks
Hey! As with all homebrewing there are always going to be variables and chances that you will either over shoot or under shoot your gravity numbers. What we’ve done with these recipe kits is purposefully write them with a slightly lower efficiency in mind, that way there is a greater chance that you will either hit or exceed the original gravity goal. If it doesn’t quite work out first time round then there are things to learn and change for the next batch. Let us know how you get on! Cheers 🍺
🍻