5 Top Tips for brewing a beer kit
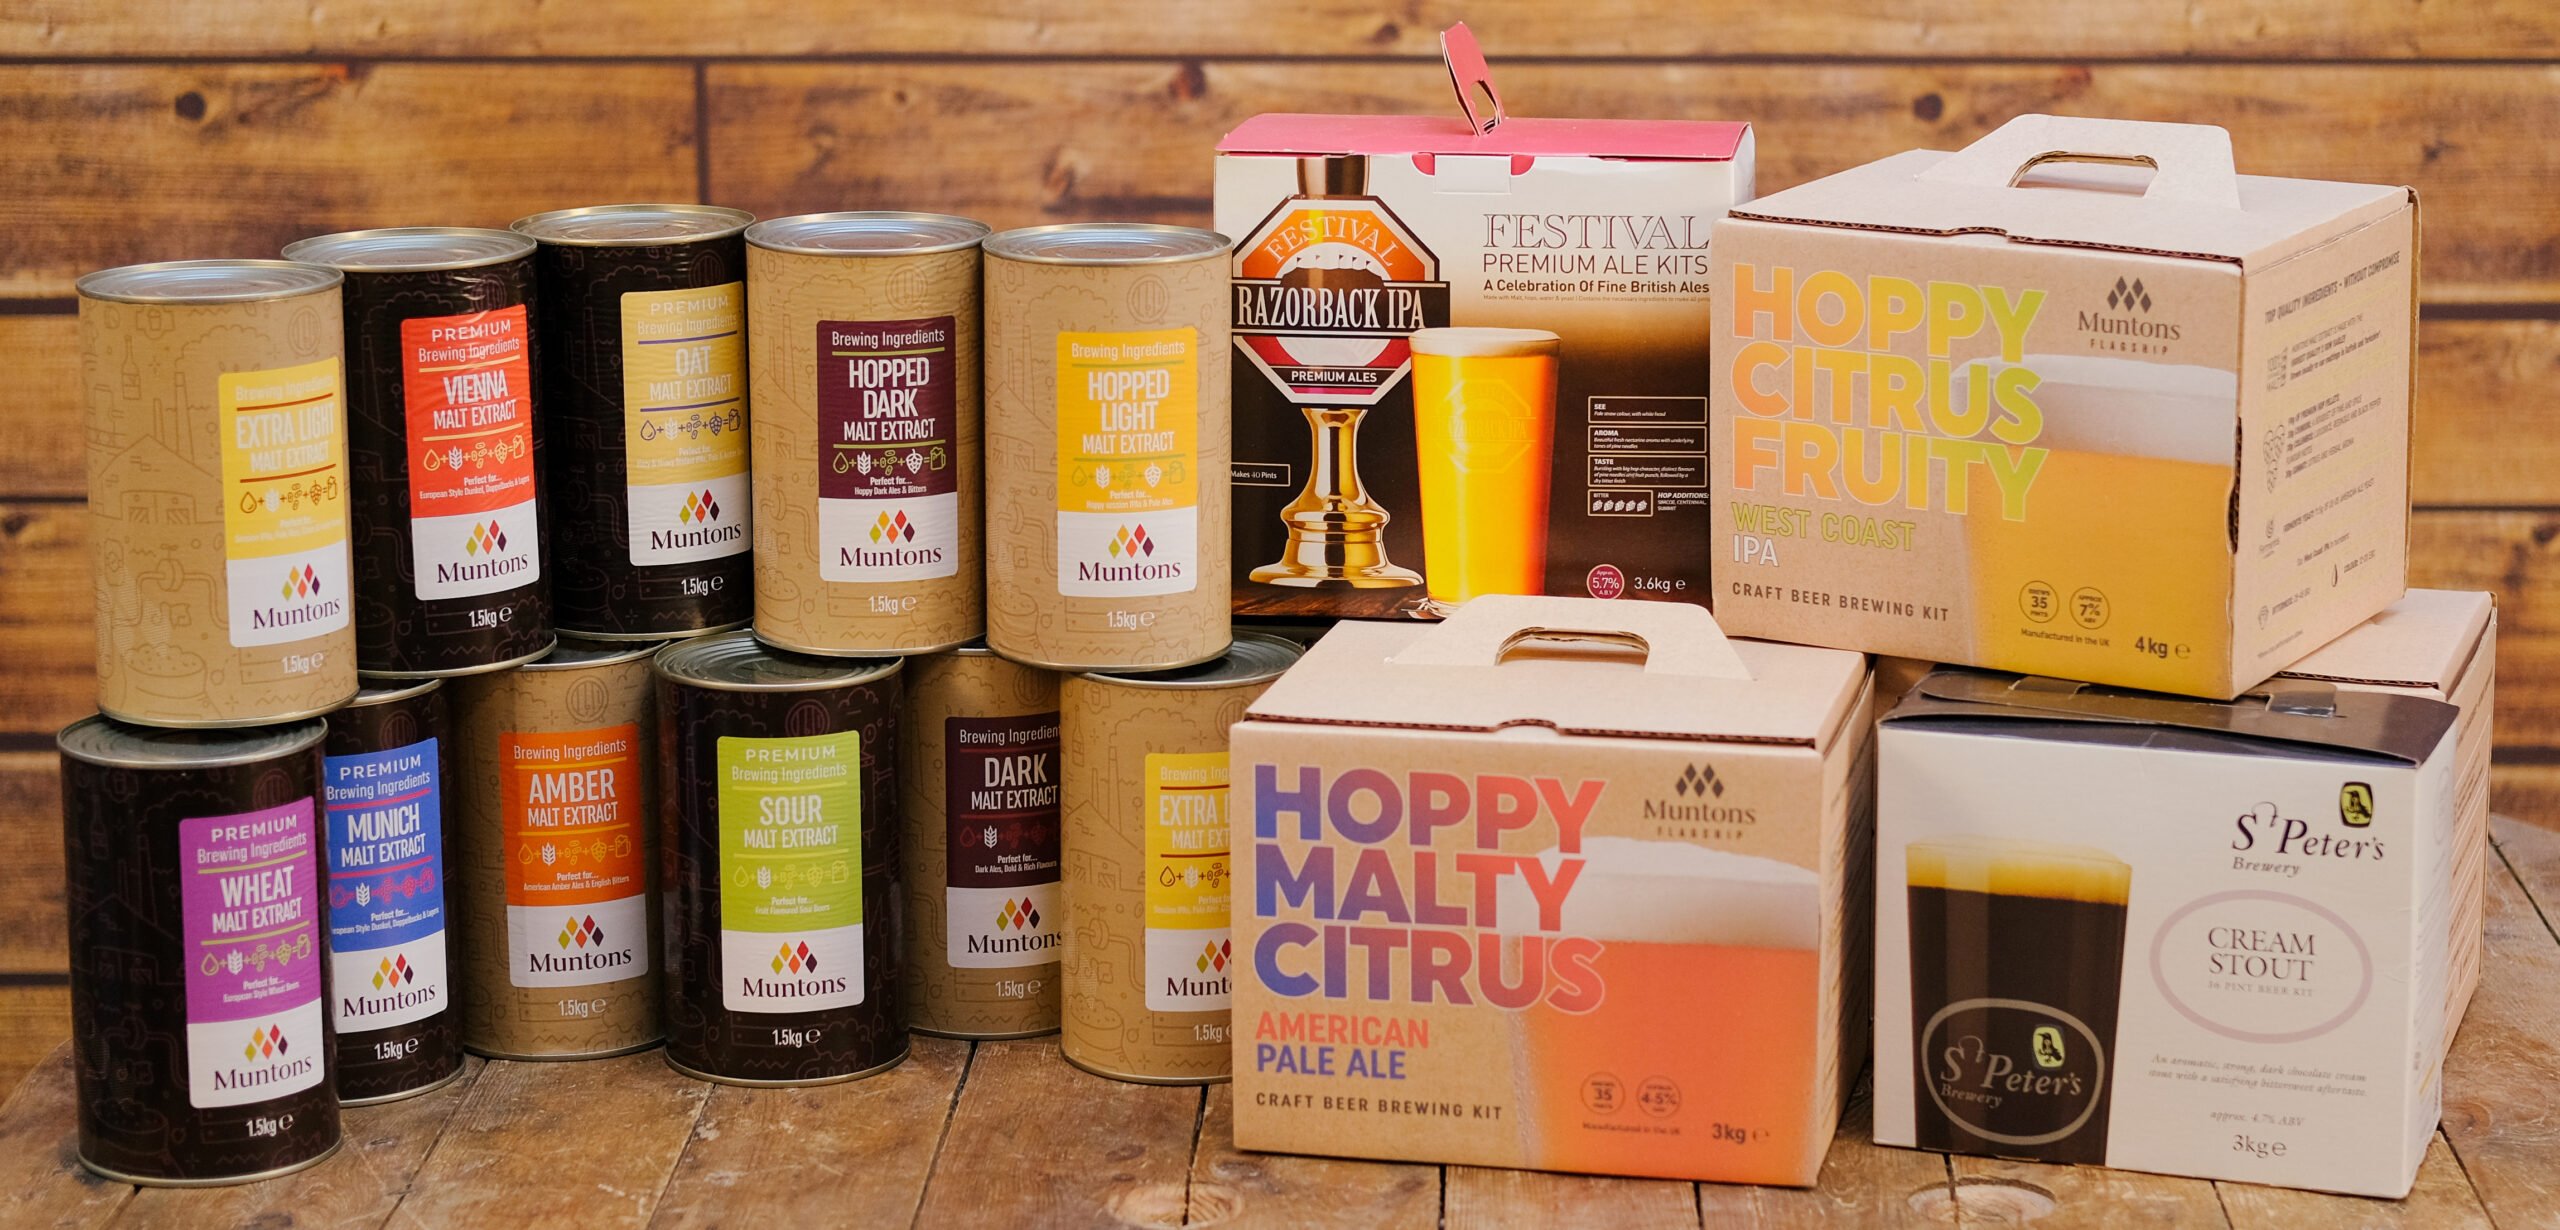
Beer kits are a fantastic gift, and we’re sure many of you will receive one in the next few weeks! But how do you get the best out of your kit? Here are our top five tips…
#1: Cleaning
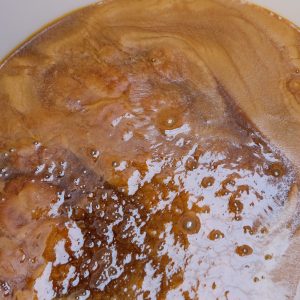
A beer kit contains malt extract and yeast (plus sometimes other goodies). We want the yeast to ferment the malt extract – but loads of other bugs and bacteria would like a bite of it too, and they are terrible at making beer. Clean and sanitise everything that will touch your beer to kill off those bugs.
Start by washing all your equipment before and after every use. Then sanitise using a no-rinse sanitiser such as ChemSan or StarSan. These create lots of foam, and everything the foam touches for more than a minute will be sanitised. Dismantle everything like taps and make sure all the nooks and crannies reach the sanitiser. You can also sanitise rubber gloves to keep things clean when you reassemble your kit. It’s also a good idea to make up some sanitiser solution in a spray bottle so you can spritz smaller items.
Infected beer is a brewer’s worst nightmare, so don’t skimp on sanitisation!
#2: Water
Beer is over 90% water, so for better beer, start with better water! There’s a rule of thumb that if your water tastes all right straight from the tap, you can brew with it, but it’s always a good idea to treat your water with sodium metabisulphite (also called Campden) to remove chlorine and chloramines, both of which can taste medicinal in beer. You can also use bottled water: look for the supermarket own brand bottles so you don’t break the bank.
#3: Fermentation
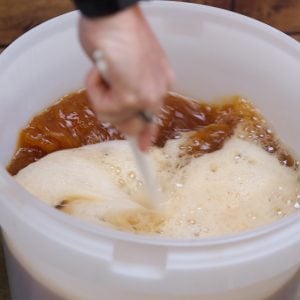
Your job when making a beer kit is to give the yeast the best conditions to make great beer. The first thing to do is to make sure there’s enough oxygen in the wort. Yeast needs oxygen to grow, so once you’ve diluted the malt extract, thrash it about with a sanitised spoon to get air into it. You could even use a (sanitised) paint stirrer attachment with a drill – just make sure the wort doesn’t spray everywhere! This is the only time you want to intentionally get air into your beer. At all other stages of brewing, try to avoid splashing as much as you can.
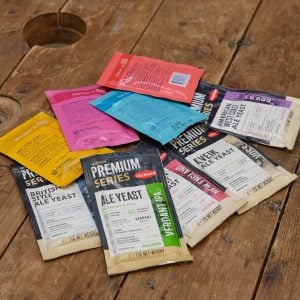
Next, you need to keep the yeast at a comfortable temperature. Generally speaking, ale yeasts prefer warmer temps (around room temperature) and lagers prefer it colder. Check the instructions with your kit and get your wort to the yeast’s target temperature before you pitch the yeast in. You then need to keep the beer at a steady temperature during fermentation. Big swings in temperature can stress the yeast, producing nasty off flavours. Check out our blog on temperature control for tips on keeping temperatures steady.
Last, you need enough yeast to do the job. You typically need about 12g of yeast for a standard sized beer kit, but some come with only 6g included. We recommend picking up some additional dried yeast for these kits.
Browse our selection of dried yeasts
#4: Patience
It’s tempting to rush your beer kit and drink it too soon. We get it, you can’t wait to taste the results! But a little patience goes a long way with brewing.
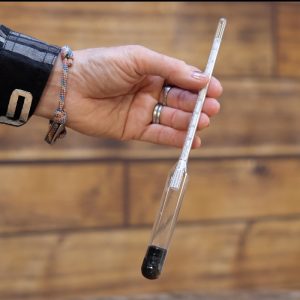
Make sure first of all that fermentation is properly finished. Don’t rely on watching bubbles through an airlock: the best way to check on fermentation is to use a hydrometer to measure the beer. When the hydrometer reads the same for more than two days in a row, fermentation is almost done. Leave the beer for another couple of days so the yeast can clean up after itself, then you can package your beer in bottles or a keg. Even then, be patient! Bottled beer needs a week at room temperature, then at least a week in the cold before it’s ready. You may find your homebrew tastes even better after four, six, eight weeks or even longer, if you can bring yourself to wait that long. It can be fun tasting how your beer develops over time – all in the name of brewing science, of course!
#5: Packaging
That step of getting your beer into bottle or keg is vitally important. We don’t sell or recommend using plastic pressure barrels because they all too often leak and are very poor for keeping beer over a long period. You’ve been patient and put time and effort into brewing the best beer you can – don’t waste it for a dodgy barrel.
If you’re bottling your beer, a bottling stick is a small but very worthwhile investment! These include a valve that only opens when you push a bottle against it, making bottling much quicker and cleaner. Don’t forget to thoroughly clean your bottles before use and give each one a good rinse after having a beer – your future self will thank you when it comes to the next bottling run.
Kegging is a great way to keep and serve beer but does require more equipment. Check out our beginners guide to kegs for more information:
So that’s our top five tips. Follow these and we’re sure you’ll make the best beer possible! And don’t forget to subscribe to our YouTube channel for all the latest tips, brews, and reviews.

