Brew With Us ESSENTIALS – understanding pH

Acid in the house
It’s standard advice for brewers to make sure they get their mash pH correct.
But how do you check this – and why is it important?
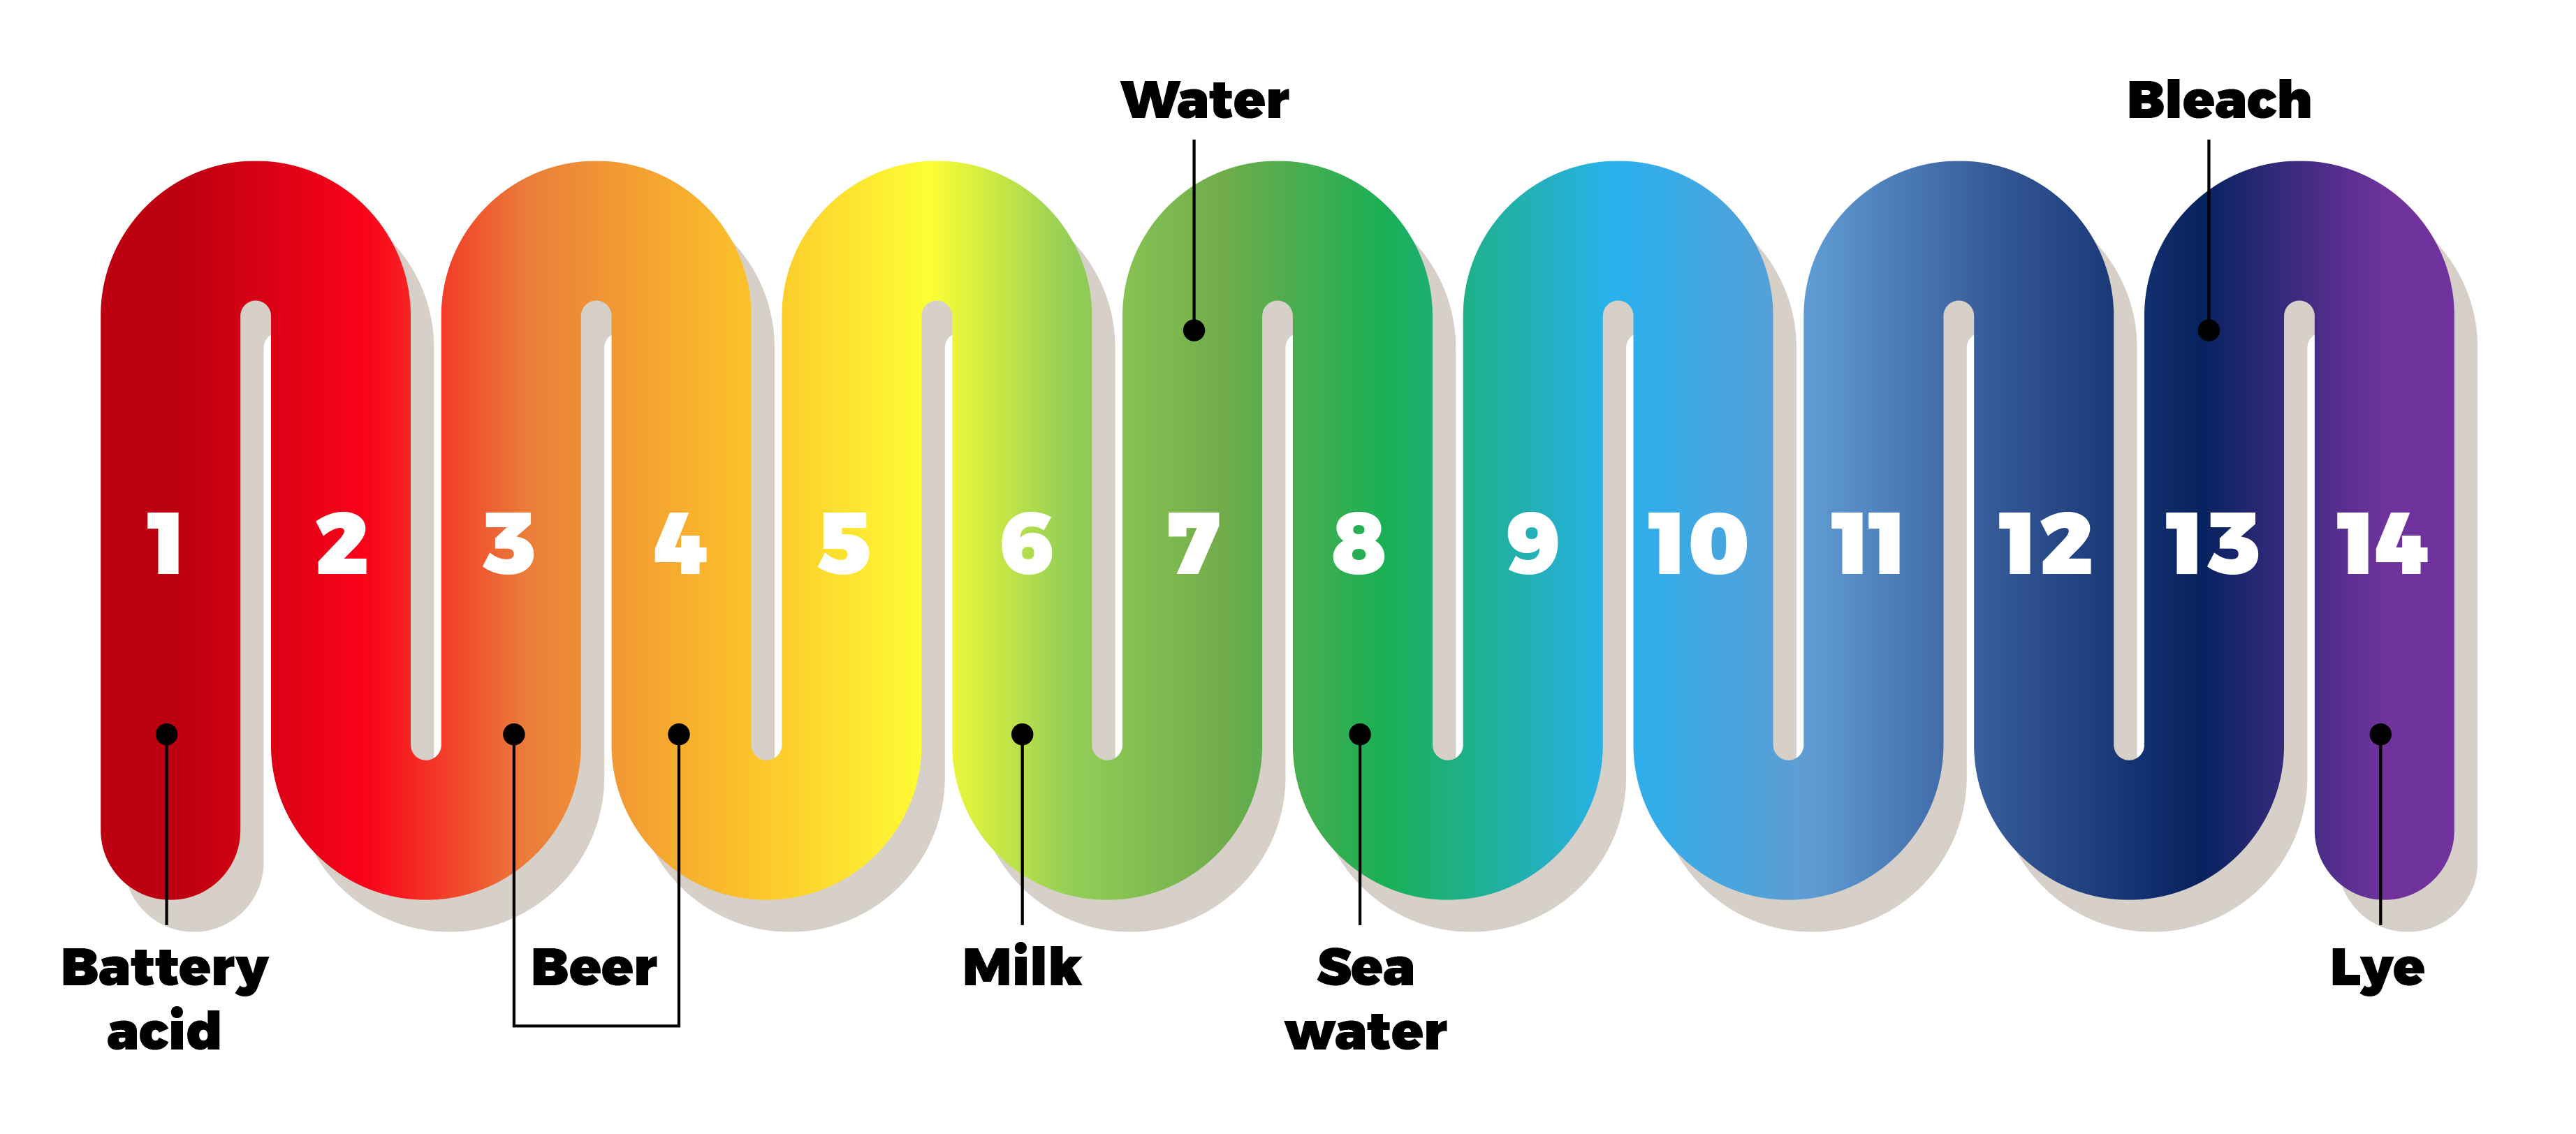
Most of us have heard of the pH scale, which measures how acidic (or alkaline) a liquid is. The scale runs from 1 to 14, with 1 being most acidic. 7 is considered “neutral”: most tap and bottled water is around here. Most beer comes in at about 4 (more acidic), with some sour beers going down into the 3s (even more acidic).
The pH of your beer affects its flavour at various points. The diastatic enzymes in the mash work best in a fairly narrow window of pH, and if your mash is outside that window, you may extract less sugar from the malt than expected, giving you a lower mash efficiency. If you are a long way off, harsh flavours start to be extracted from the malts along with the good stuff. These can range from dry, “grainy” flavours, up to astringent tannins (like sucking a teabag), all the way to metallic flavours in extreme cases.
The same is true of the boil and during fermentation: being significantly outside the normal range can produce unexpected and generally unwelcome flavours. Yeast prefers conditions to be in a fairly narrow range, and as we know, keeping your yeast happy is the number one job in fermentation.
With all that said, if you get the pH level correct at the start, the other parts pretty much fall into place without any extra work. Hence most brewers concentrate primarily on getting the mash pH right.
What’s the target?
The ideal pH range for a mash is between 5.2 and 5.6. This gives the best conditions for the enzymes in the mash to work.

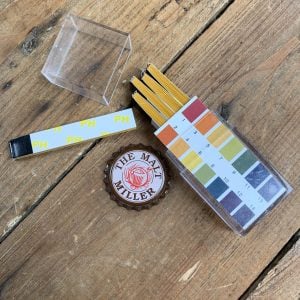
You can measure the pH level of your mash using pH test strips or a digital pH meter. It can take a little while for the pH to settle through the mash, so take a sample for testing between 15-45 minutes in. It’s also best to let your sample cool to room temperature before you test it. This eliminates any temperature variables that might differ between brews at different mash temps. If you’re using a digital pH meter, you will also be testing at the same temperature that your meter has been stored and calibrated at, which helps get consistent readings.
All this means that you will likely do your pH test at some point after your mash is finished – too late to change anything. This is okay! Unlike target mash temps, where you can add or remove heat immediately to hit your marks, mash pH has lots of variables, and it can take a relatively long time for any changes you make to become effective. So even if you did make a change in the middle of the mash, the mash might be over and done before you saw a difference.
With pH, we do our calculations before the brew instead: the measurement from the mash tells us if we got it right or not. This lets us adjust for the next brew. With modern software, you can be very accurate first time around, and even more precise the next time.
Painting by (pH) numbers
Water is around 7 on the pH scale, and we want a reading of 5.2 to 5.6, which is more acidic than water. To reach that number, we just need to add some acid, right?
First we need to know that the opposite of an acid is a base. Many bases are not soluble in water: those that do dissolve in water are alkaline. When we are looking at brewing liquor, alkalinity (how many alkalis are dissolved in it) is a vital measure.
When you have both acid and alkali in water, they will react and cancel each other out, using up parts of both in the process. This means that the more alkalis you have in your brewing liquor, the more acid it will take to reduce the pH.
Bottled or reverse osmosis water tends to have very low alkalinity, so it can take very little acid to change the pH. On the other hand, most tap water in the UK has quite a high level of alkalinity. It’s a little counterintuitive, but you can have quite high levels of alkalinity even when the pH reading is still in the 7 range. This is because there are a lot of very weak alkalis dissolved in the water. These are too weak to shift the pH level much, but they do make the water more resistant to changes from acids.

One way to think about this is to look at colours. Imagine we’ve got some green paint made up from a mixture of blue and yellow:

Say we decide it’s too green and we want to make it more yellow. We could add more yellow to the mix:

The green here is bottled or RO water. Blue is alkaline and yellow is acid. Only a small amount of acid (yellow) is needed to push the neutral green towards yellow because there isn’t much alkaline (blue) to begin with.
If we started with more blue, we could still get to green:

However, because there’s more blue than before, we would also need a lot more yellow to push it towards yellow – otherwise it stays very greenish:


This is more like tap water. It takes more acid (yellow) to change the pH because there is more alkalinity (blue).
This is called a buffering effect. If you add malts to water with high alkalinity, the natural acids in the malts will react with and neutralise some of the alkalis. However, this uses up the malt acids in the process, so the pH doesn’t really change. The alkalis have buffered out the acids.
The buffering effect of tap water can neutralise most of the natural acids in a typical malt bill, so you may need to add additional acid to get through all the alkalinity and drop the pH level into the target range. This is why it’s important when you look at a water report to find not just the pH of your water, but the level of alkalinity. A higher level of alkalinity means your water has a higher buffering effect and you will need more acid to counteract it.
Alkalis, away!
An alternative to adding more acid is to reduce the level of alkalinity. As we saw before, if you start with less alkali, there is less of a buffering effect, so you need less acid to move the pH. This is the equivalent of taking some of the “blue” out of your “green”!
Bottled water typically has very low alkalinity, and water from a reverse osmosis system will have almost none. However, these are both very low in beneficial minerals like calcium, so rather than using them for all of your liquor, you could choose to use them instead to dilute your tap water. This gives you a halfway house: lower alkalinity than tap water alone, and higher minerals than RO water alone.

You can also treat your tap water to reduce its alkalinity. If you have highly alkaline water, you’ll have probably noticed that white flakes appear at the bottom of your kettle or in pans of boiling water. This is calcium carbonate – aka chalk.
Chalk is very alkaline, so without it your boiled water has lower alkalinity than straight from the tap. The boiled water also has a lot less calcium (a bit like bottled water). So, just like with bottled water, you could choose to substitute some or all of your tap water for boiled water and get that same halfway house.
One thing to note is that if you leave your kettle to cool, then boil it again, some of those flakes of chalk will disappear again. The heat from boiling has made them dissolve back into the calcium and bicarbonates they came from before. So it’s a good idea to filter the chalky flakes out before adding boiled water to your liquor. If you’re using a hot liquor tank, you could start with more water than you need and simply make sure you don’t drain all the way to the bottom, leaving the flakes behind.
If boiling is impractical – you might need a lot of water! – you could use slaked lime. This is a powdery white mineral that is highly alkaline. Hang on – we’re trying to reduce alkalinity, aren’t we? Well, in small amounts, slaked lime has the same effect as boiling: it pulls calcium and alkaline compounds to it and they drop out of suspension together. Too much and it will have the opposite effect, adding both calcium and alkalinity. Because slaked lime is itself alkaline, you must filter out or decant from above the mineral flakes left at the bottom – otherwise both the calcium and alkalinity originally in your water and those the slaked lime has added will dissolve back into your liquor.
Cupboard full of chemicals
There are dozens of acids and minerals available.
In our next chapter, we’ll guide you through what they are and how to use them!


